
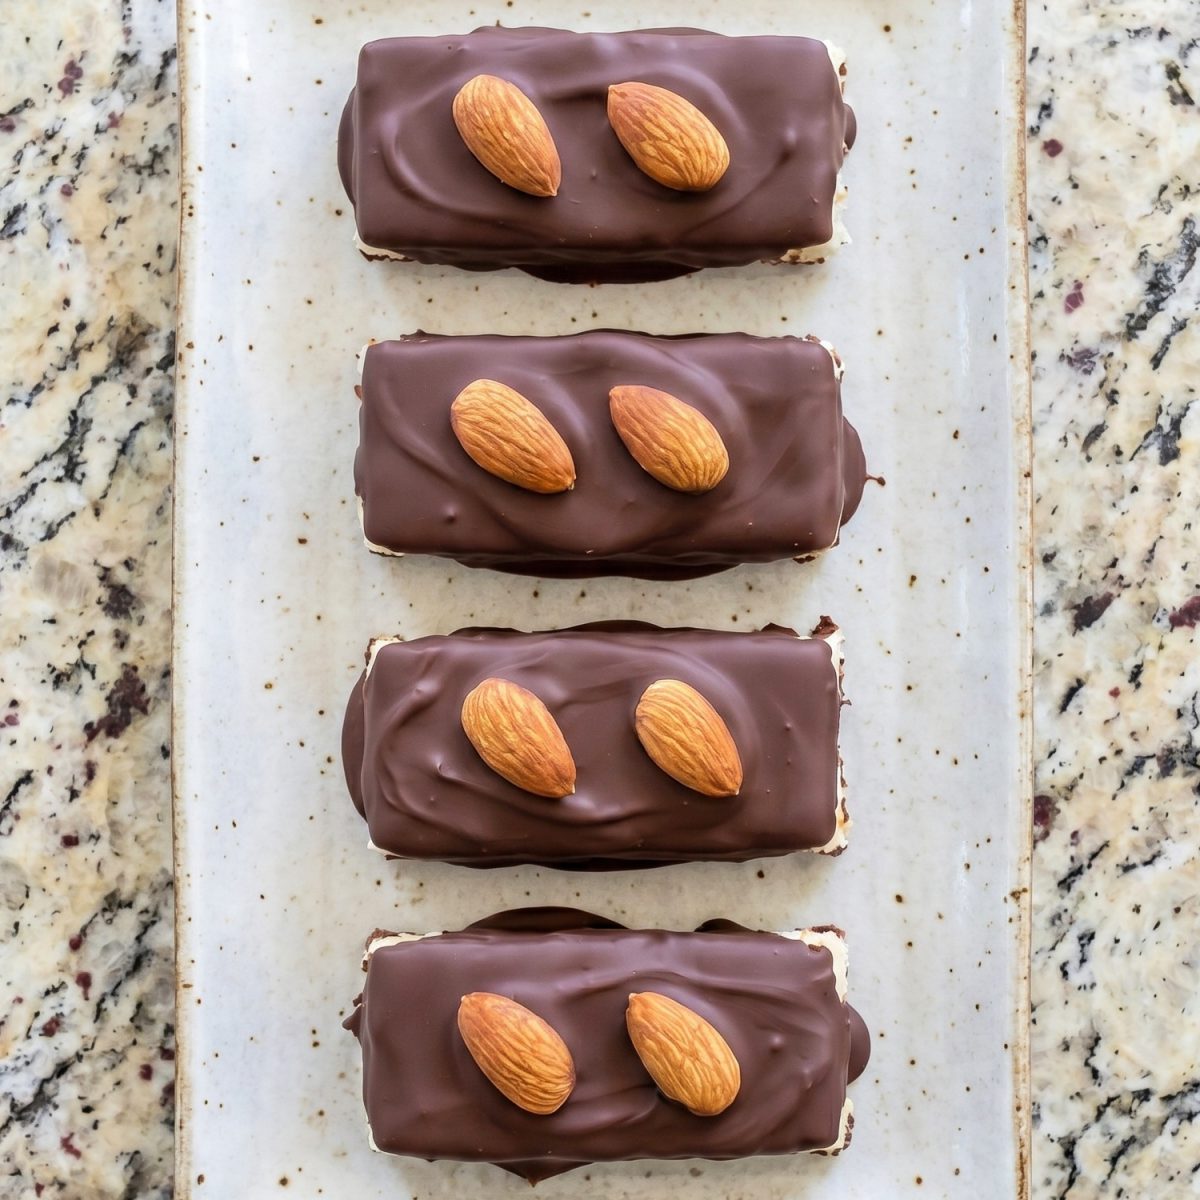
Craving something sweet and coconutty on keto? These keto almond joy bars are one of the best low carb treats I’ve made so far.
They’re inspired by the classic Almond Joy candy bar. Coconut filling, whole almonds, and a chocolate shell. But this version has no sugar and is completely keto friendly.
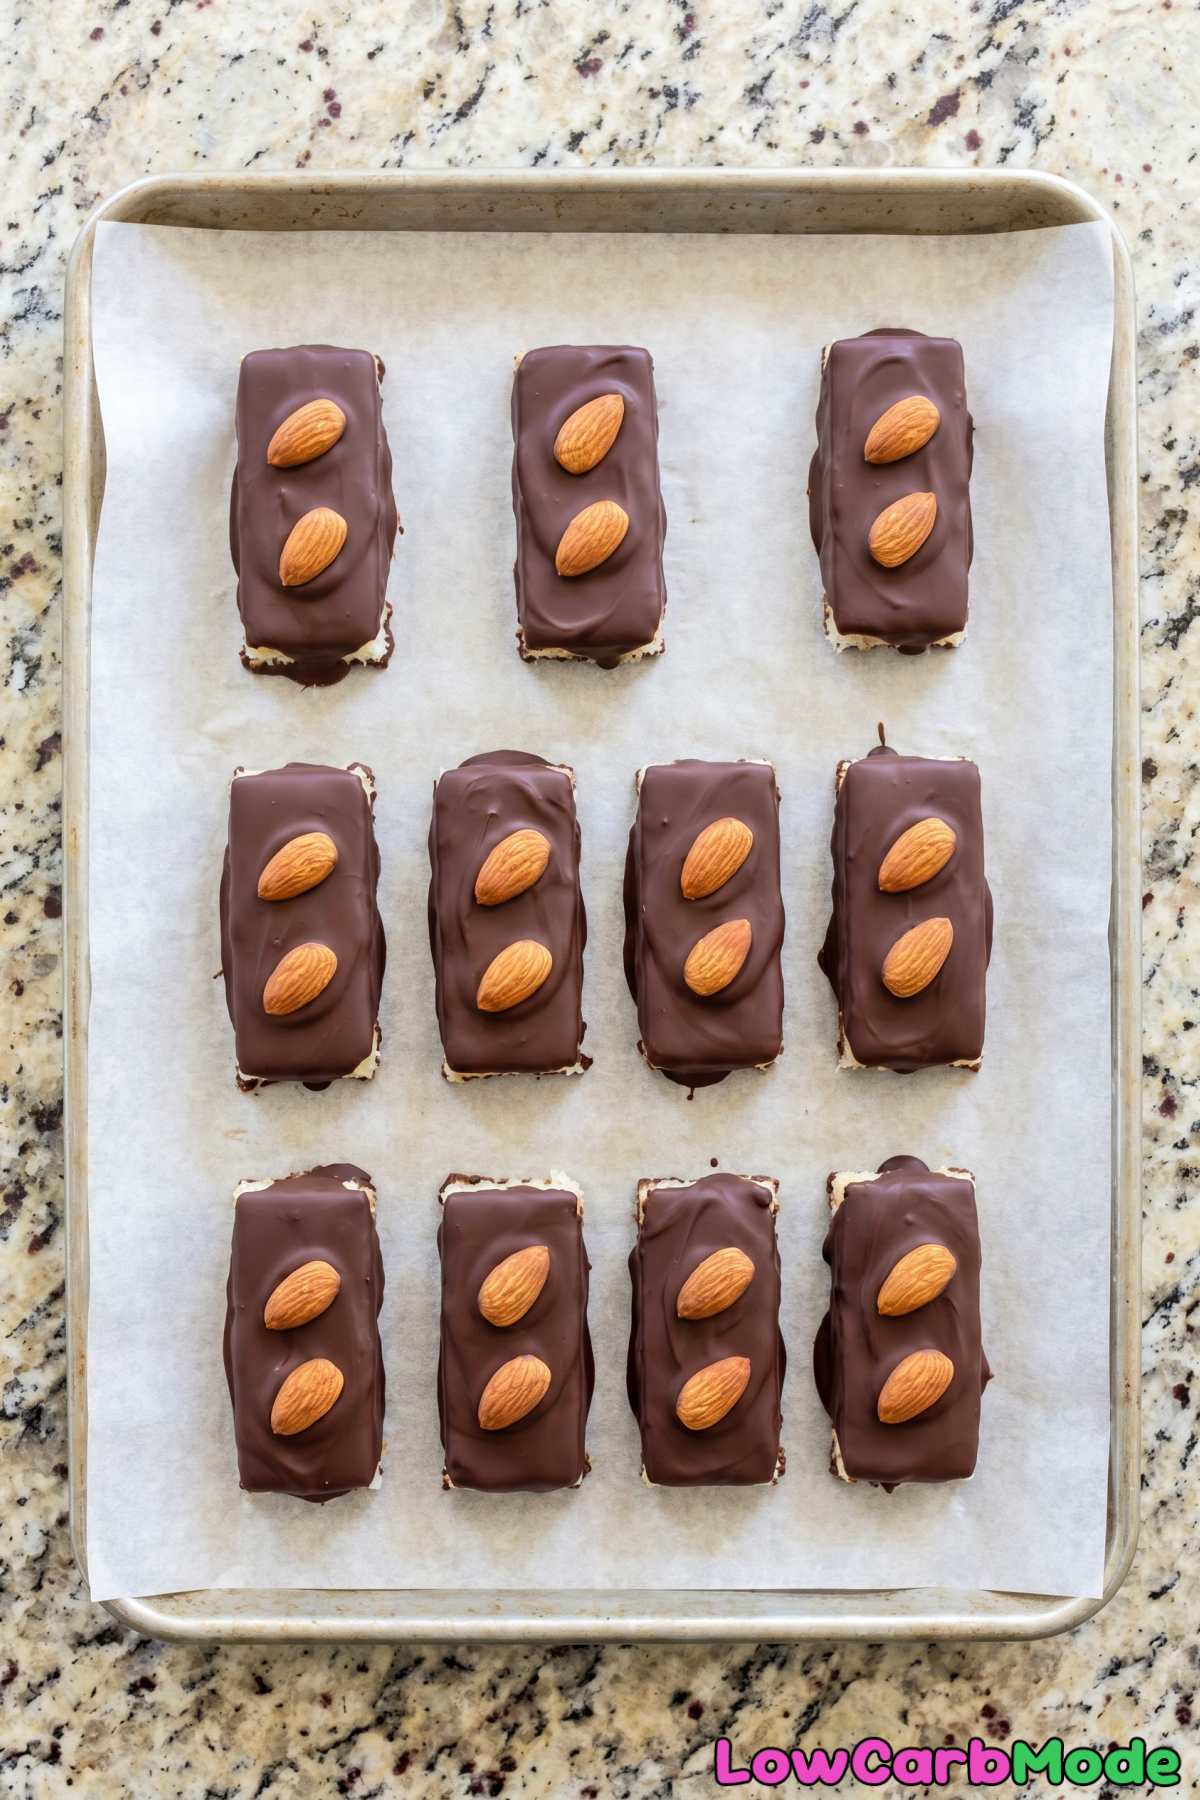
What I love about this recipe is how simple it is. You don’t need to bake anything. Just combine a few ingredients, shape them into bars, and coat them in melted chocolate.
The texture is spot on. The coconut center is soft and slightly chewy, the almonds add a nice crunch, and the chocolate coating snaps when you bite into it.
Keep a batch in the fridge and you’ll always have a satisfying low carb dessert ready to go.
Why You’ll Love This Recipe
Tastes Like the Real Thing – These bars nail that classic Almond Joy flavor with coconut and chocolate and almonds but without the sugar.
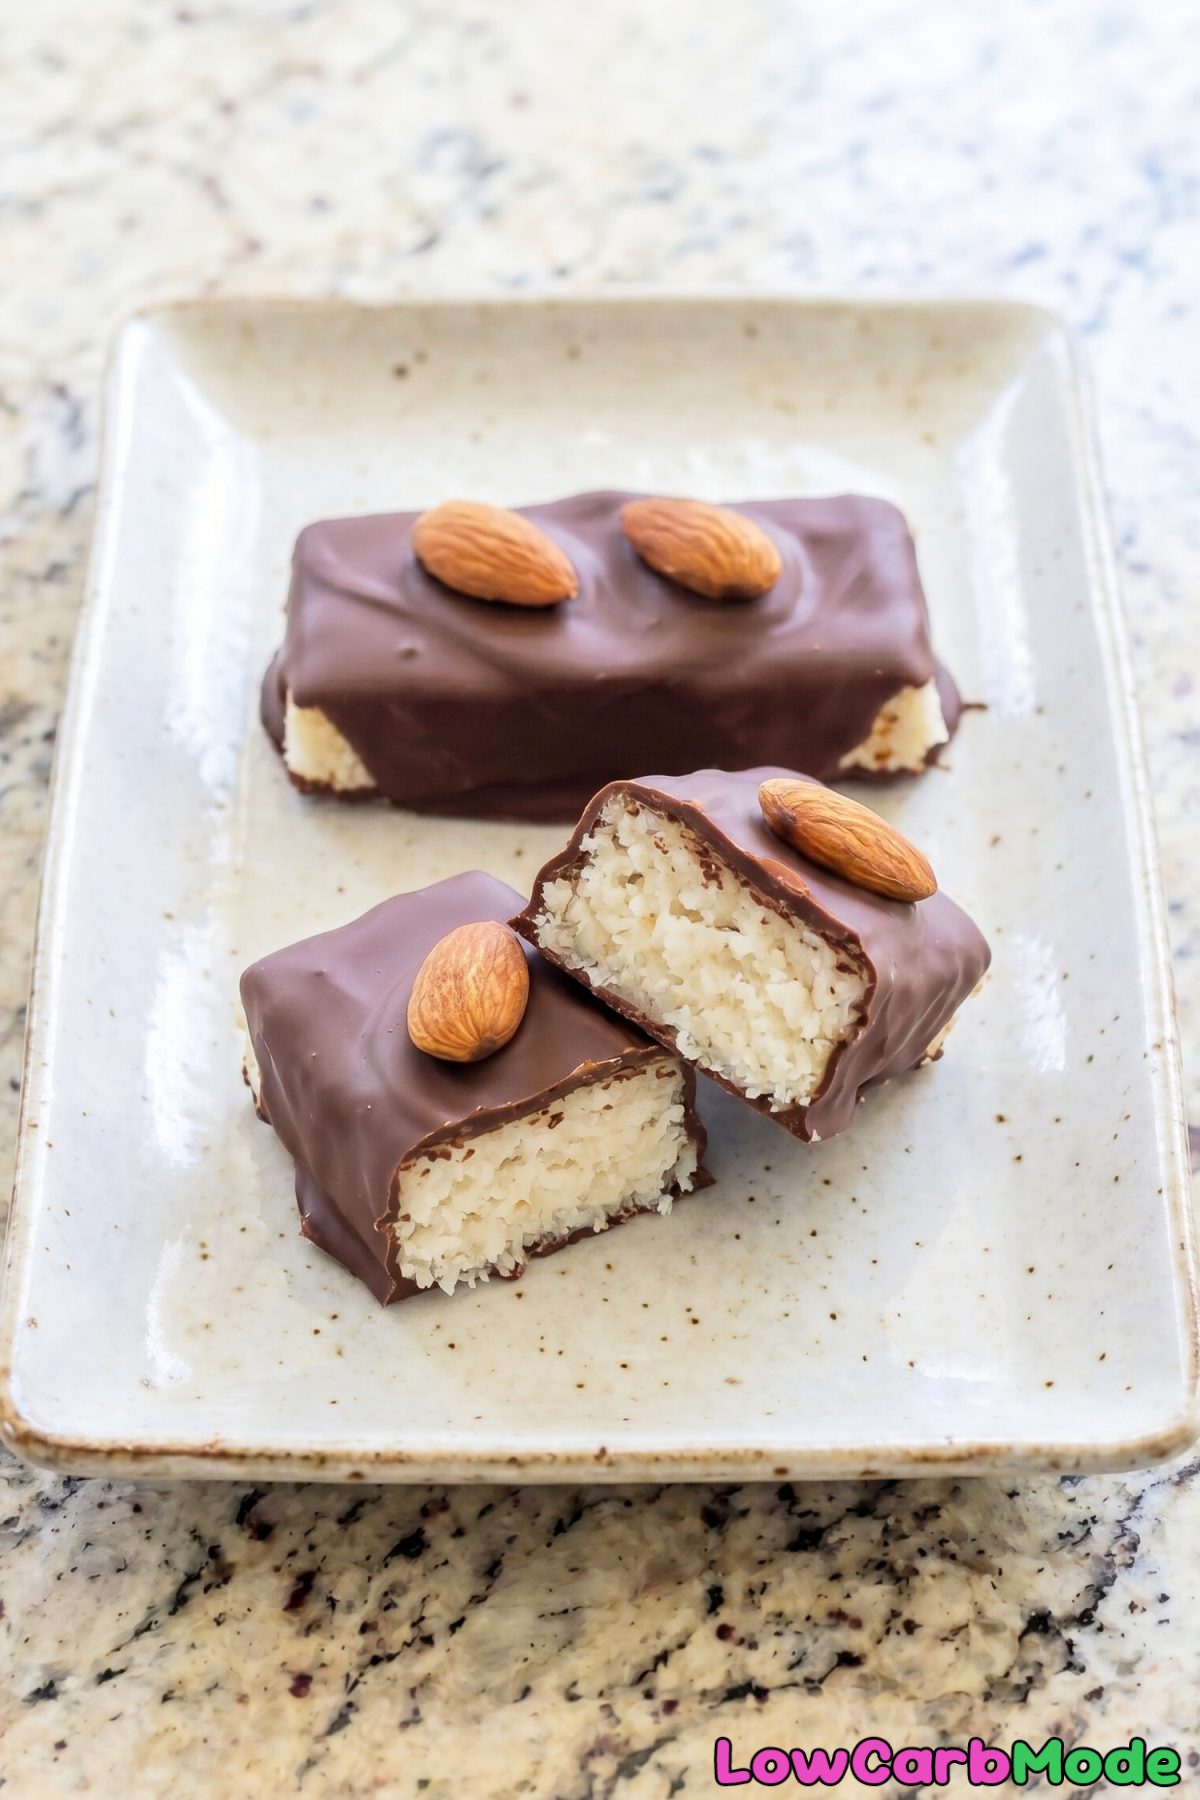
Satisfies Candy Cravings on Keto – When you miss candy bars on a low carb diet these hit the spot perfectly.
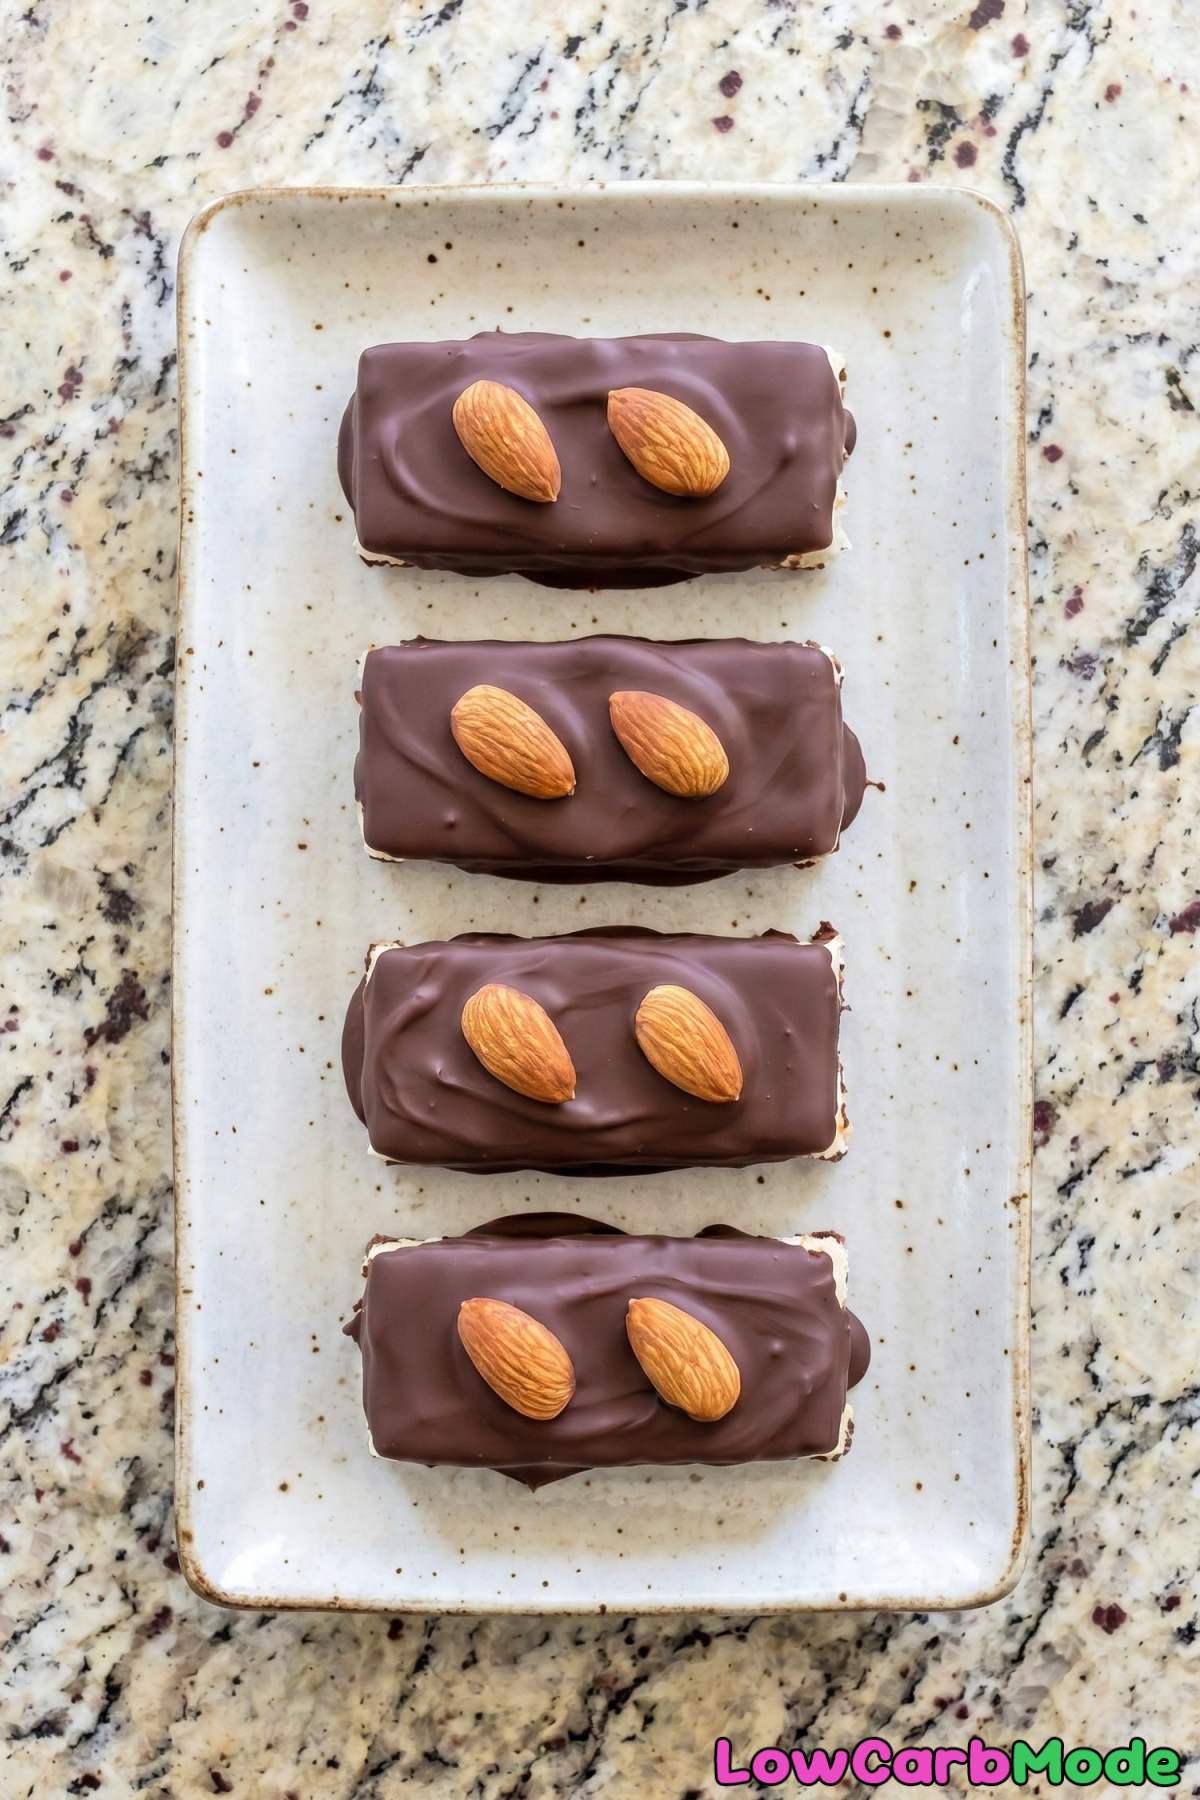
Perfect for Meal Prep – Make a batch of 12 bars and store them in the fridge for a grab-and-go keto treat all week.
Recipe Ingredients
For the Coconut Filling
- 2 cups Unsweetened Shredded Coconut
- 3 tbsp Coconut Oil, melted
- 3 tbsp Powdered Erythritol
- 2 tbsp Coconut Cream
- 1/2 tsp Vanilla Extract
- Pinch of Salt
For the Chocolate Coating
- 6 oz Sugar-Free Dark Chocolate, chopped
- 1 tbsp Coconut Oil
- 24 Whole Raw Almonds
How To Make
Step 1
In a bowl, combine the shredded coconut, melted coconut oil, powdered erythritol, coconut cream, vanilla extract, and salt. Mix well until everything is evenly moistened and holds together when pressed.
Step 2
Line a baking sheet with parchment paper. Scoop about 1 1/2 tablespoons of the coconut mixture and shape it into an oval bar, roughly the size and shape of a fun-size candy bar. Press firmly so it holds its shape.
Repeat to make 12 bars and place them on the parchment. Press 2 whole almonds into the top of each bar.
Step 3
Place the baking sheet in the freezer for 20 minutes until the coconut bars are very firm.
Step 4
Melt the sugar-free dark chocolate and coconut oil together in a microwave-safe bowl in 20-second intervals, stirring between each, until smooth. Let it cool for 2 minutes so it thickens slightly.
Step 5
Using a fork, dip each frozen coconut bar into the melted chocolate, turning to coat completely. Lift it out, let the excess drip off, and place it back on the parchment. Work quickly so the bars stay cold.
Step 6
Refrigerate the coated bars for at least 20 minutes until the chocolate is fully set and snaps cleanly. Store in the fridge in an airtight container.
Tips
Press the Bars Really Firmly
The coconut mixture doesn’t have a strong binder like flour or eggs, so the bars can crumble apart if you don’t pack them tightly enough. When you’re shaping each bar, squeeze and press it in your hands like you’re trying to make it as dense as possible.
If the mixture feels too loose and won’t hold together, add another teaspoon of coconut cream. That little bit of extra moisture makes a big difference.
A good test is to hold the shaped bar on its side. If it doesn’t crack or break apart, you’re good to go.
Make Sure the Chocolate Isn’t Too Hot When You Dip
If you dip the frozen bars into chocolate that’s still really hot, the coconut filling will start to soften and fall apart in the bowl. That’s why the recipe says to let the chocolate cool for 2 minutes after melting it.
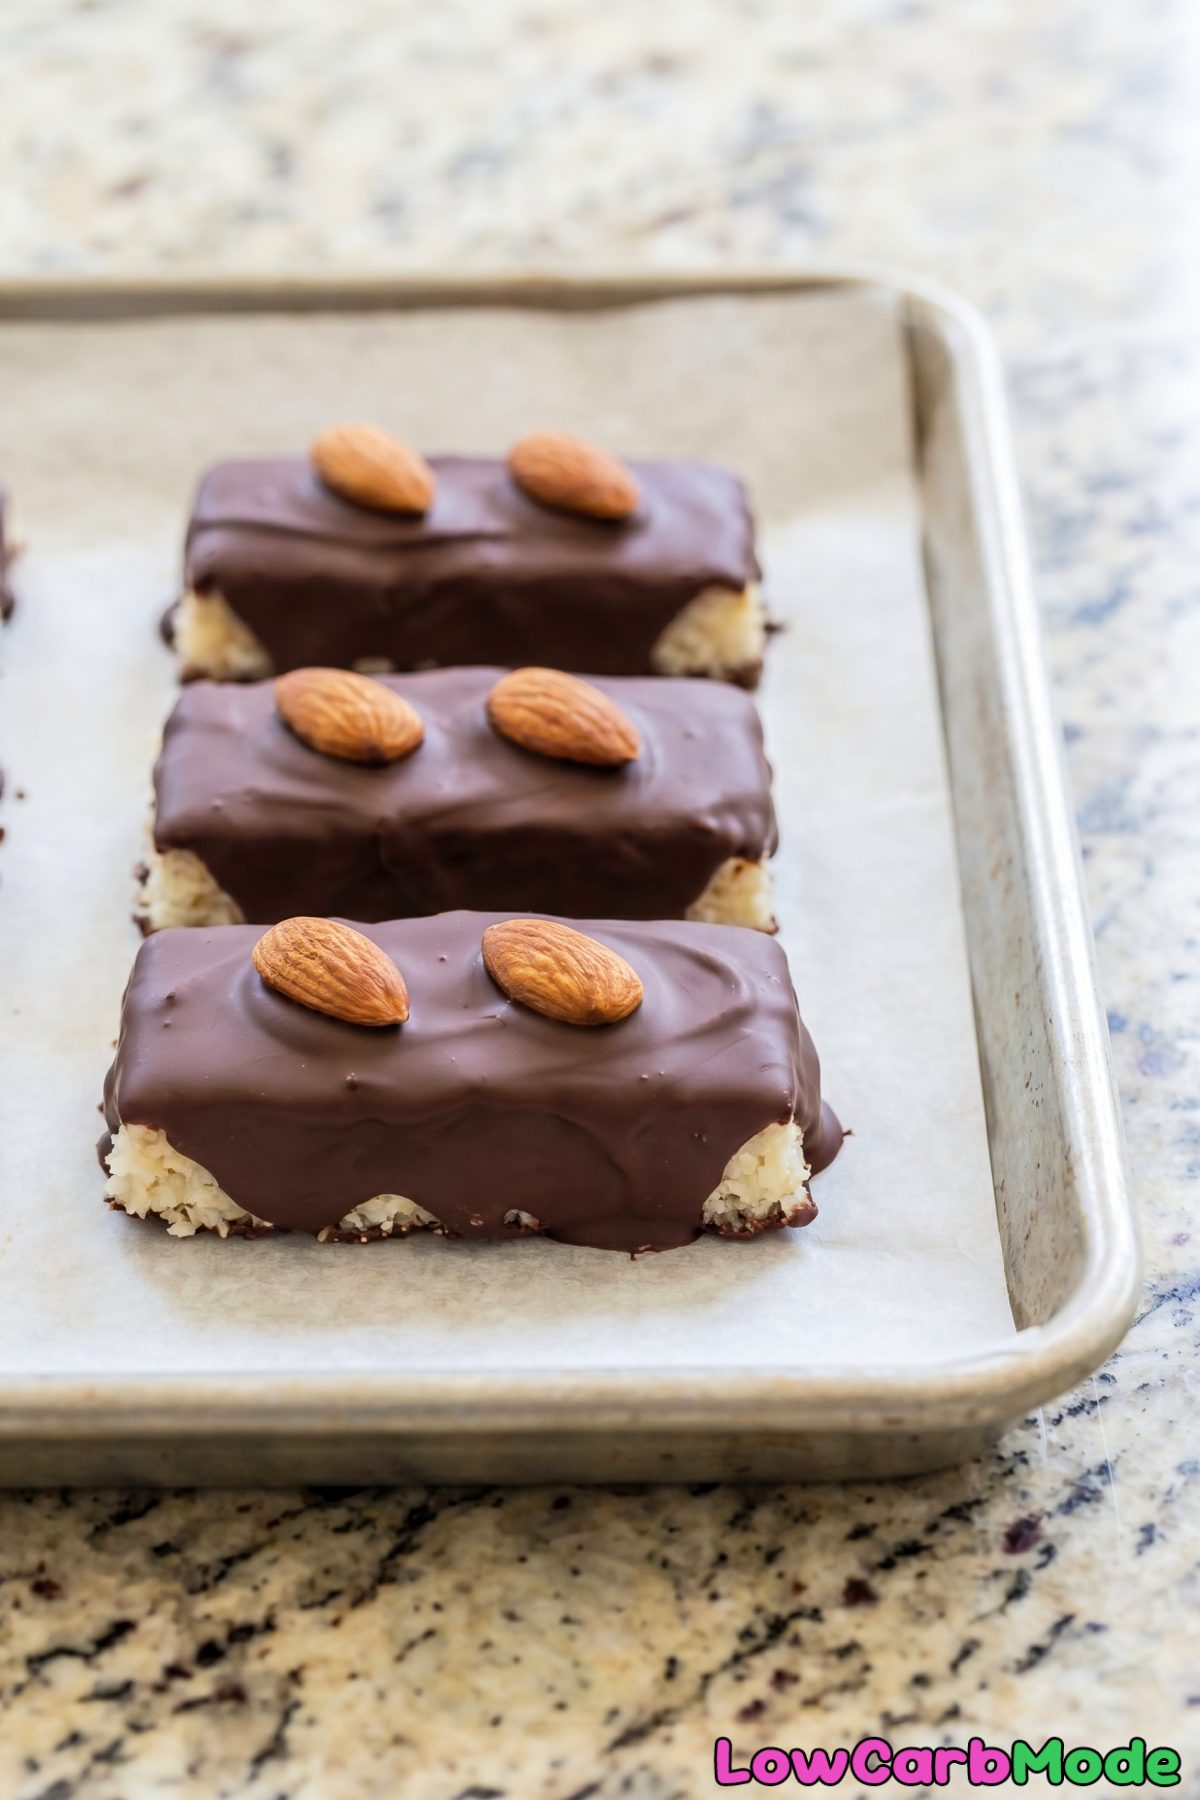
You want the chocolate to be smooth and pourable but not hot to the touch. It should feel just slightly warm. This also helps it coat the bars more thickly instead of running right off.
If the chocolate starts to thicken too much while you’re working, microwave it for just 5 seconds to loosen it back up.
Use a Fork and a Toothpick for Dipping
Set the bar on a fork and lower it into the chocolate. Use a toothpick in your other hand to gently hold the bar in place and flip it over so every side gets coated.
When you lift it out, tap the fork lightly on the edge of the bowl a few times to let the extra chocolate drip off. This gives you a smooth, even coating instead of a thick puddle of chocolate pooling around the bottom.
More Recipes
- Low Carb Chocolate Coconut Bars
- Low Carb Coconut Macaroons
- Keto Peanut Butter Cups
- Keto Coconut Cream Pie
- Low Carb Chocolate Bark with Sea Salt
Frequently Asked Questions
Can I use regular sweetened shredded coconut instead of unsweetened?
You can, but it will add a significant amount of sugar and carbs to each bar, which defeats the purpose if you’re eating keto. Unsweetened shredded coconut is what keeps these bars low carb while still giving you that classic Almond Joy coconut flavor.
If unsweetened shredded coconut is all you can find at your store, check the baking aisle or order it online. It’s worth using the right kind here since it makes a big difference in the net carb count.
Keto Almond Joy Bars
Ingredients
For the Coconut Filling
- 2 cups Unsweetened Shredded Coconut
- 3 tbsp Coconut Oil, melted
- 3 tbsp Powdered Erythritol
- 2 tbsp Coconut Cream
- 1/2 tsp Vanilla Extract
- 1 Pinch of Salt
For the Chocolate Coating
- 6 oz Sugar-Free Dark Chocolate, chopped
- 1 tbsp Coconut Oil
- 24 Whole Raw Almonds
Instructions
- In a bowl, combine the shredded coconut, melted coconut oil, powdered erythritol, coconut cream, vanilla extract, and salt. Mix well until everything is evenly moistened and holds together when pressed.
- Line a baking sheet with parchment paper. Scoop about 1 1/2 tablespoons of the coconut mixture and shape it into an oval bar, roughly the size and shape of a fun-size candy bar. Press firmly so it holds its shape. Repeat to make 12 bars and place them on the parchment. Press 2 whole almonds into the top of each bar.
- Place the baking sheet in the freezer for 20 minutes until the coconut bars are very firm.
- Melt the sugar-free dark chocolate and coconut oil together in a microwave-safe bowl in 20-second intervals, stirring between each, until smooth. Let it cool for 2 minutes so it thickens slightly.
- Using a fork, dip each frozen coconut bar into the melted chocolate, turning to coat completely. Lift it out, let the excess drip off, and place it back on the parchment. Work quickly so the bars stay cold.
- Refrigerate the coated bars for at least 20 minutes until the chocolate is fully set and snaps cleanly. Store in the fridge in an airtight container.
Whipped these up way faster than I expected, the freezer trick makes the dipping so easy and they set up perfectly. Almost no effort for such a good little treat.