
If you’ve been looking for a pumpkin dessert that actually fits your keto diet, you’re going to love this one.
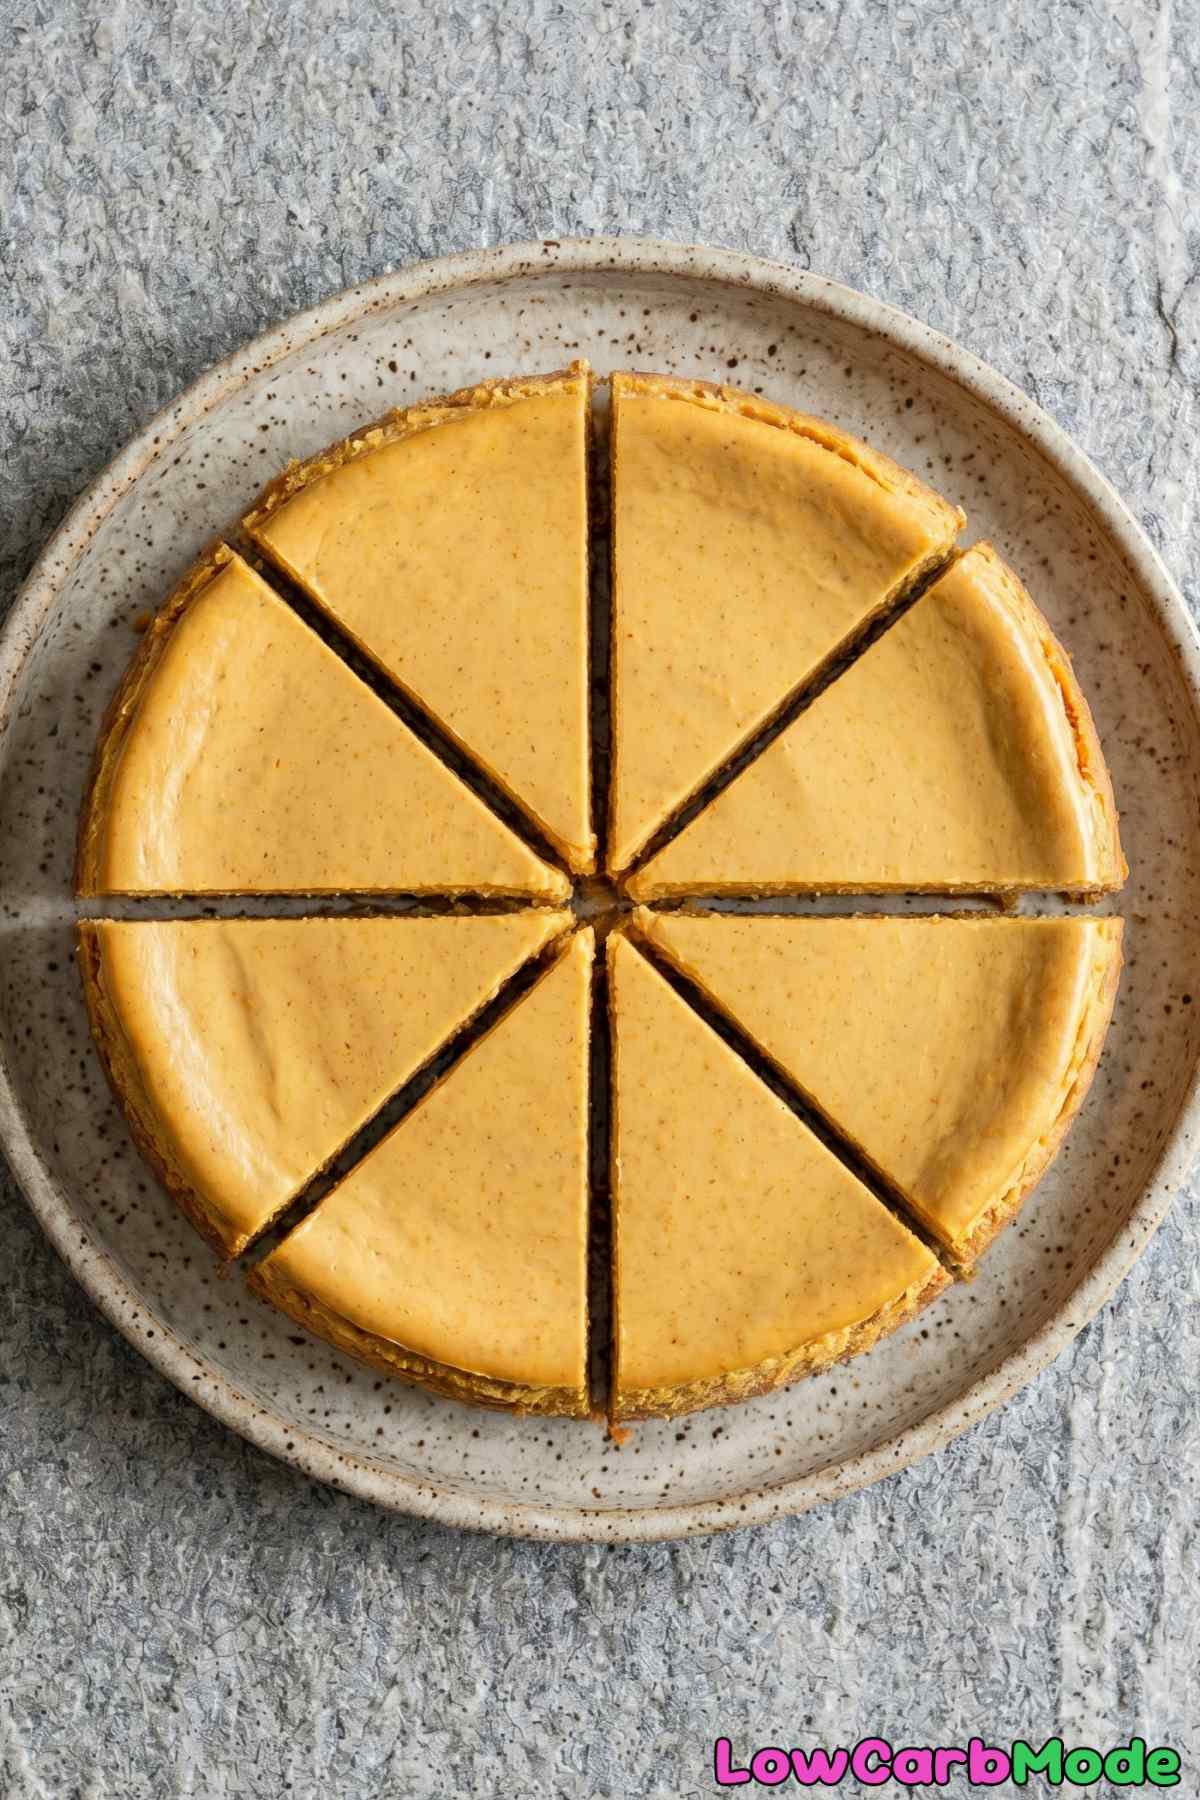
This keto pumpkin cheesecake tastes just as good as the regular version. Maybe even better. It’s creamy, perfectly spiced, and completely low carb.
I use an almond flour crust with a touch of cinnamon on the bottom. It gives you that satisfying crunch without any of the extra carbs from traditional crusts.
The pumpkin filling is smooth and velvety with warm spices throughout. Every bite tastes like fall in the best way possible.
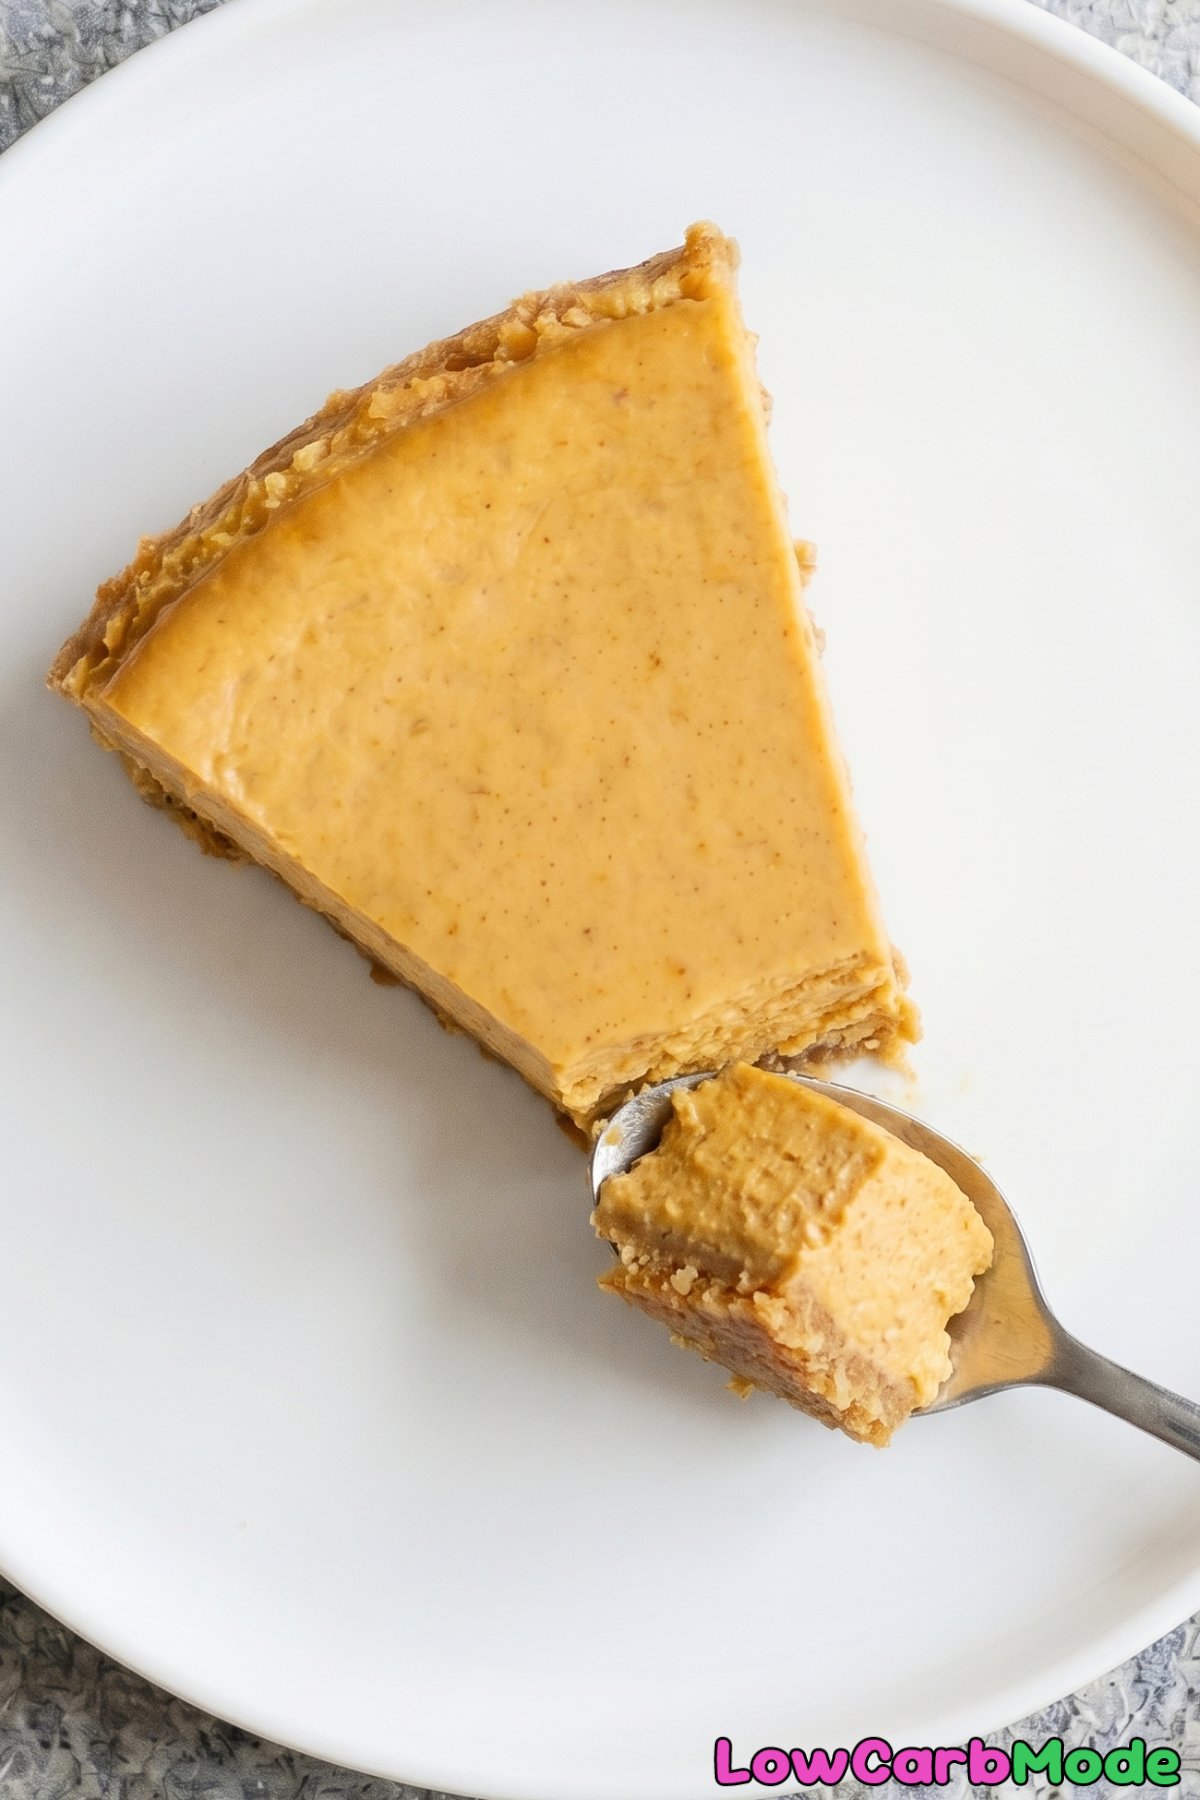
It does need some time to chill in the fridge, so plan ahead. But the actual hands-on work is pretty simple and straightforward.
This is the kind of dessert you can proudly bring to a dinner and nobody will even guess it’s keto friendly.
Why You’ll Love This Recipe
Tastes Like the Real Thing – This keto pumpkin cheesecake is so creamy and rich that no one will believe it is sugar free.
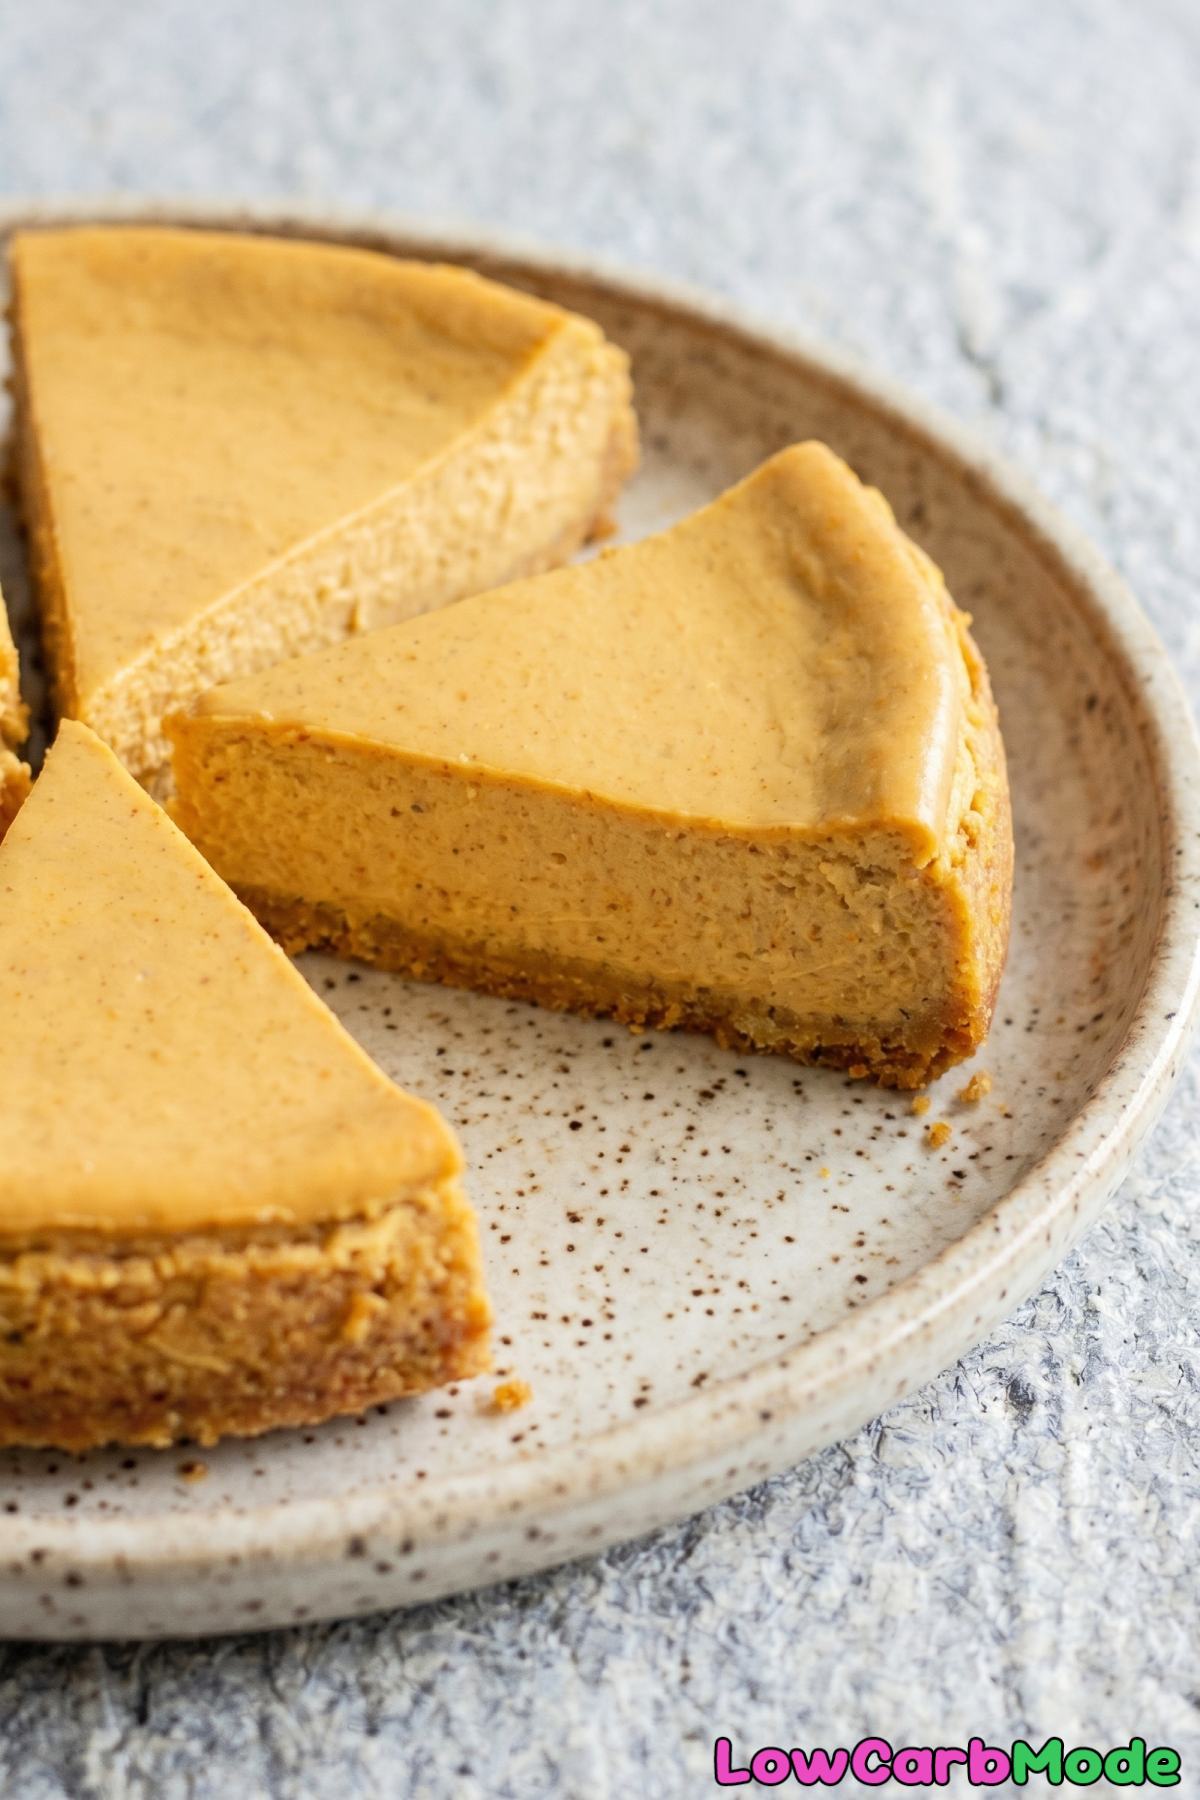
Perfectly Creamy Texture – The water bath method gives you a silky smooth cheesecake with no cracks every single time.
Buttery Almond Flour Crust – The crust is nutty and golden with a satisfying crunch that pairs perfectly with the creamy filling.
Recipe Ingredients
For the Crust
- 1 1/2 cups Almond Flour
- 3 tbsp Unsalted Butter, melted
- 2 tbsp Granulated Erythritol
- 1/2 tsp Cinnamon
- Pinch of Salt
For the Filling
- 24 oz Cream Cheese, softened
- 3/4 cup Granulated Erythritol
- 3/4 cup Pumpkin Puree
- 3 Large Eggs
- 1/3 cup Sour Cream
- 2 tsp Pumpkin Pie Spice
- 2 tsp Vanilla Extract
How To Make
Step 1
Preheat your oven to 325°F (165°C). Wrap the outside bottom of a 9-inch springform pan with foil to prevent leaks. In a bowl, mix together the almond flour, melted butter, erythritol, cinnamon, and salt. Press firmly into the bottom of the pan.
Step 2
Par-bake the crust for 10 minutes until lightly golden. Remove from the oven and let it cool while you prepare the filling. Reduce the oven temperature to 300°F (150°C).
Step 3
In a large bowl, beat the cream cheese with an electric mixer on medium speed until completely smooth, about 3 minutes. Add the erythritol and beat until combined.
Step 4
Add the pumpkin puree, pumpkin pie spice, and vanilla extract and mix until incorporated. Add the eggs one at a time, beating on low speed after each addition just until blended. Stir in the sour cream until smooth.
Avoid overmixing, as this can cause cracks. The batter should be silky and uniform.
Step 5
Pour the filling over the cooled crust and smooth the top. Place the springform pan in a larger roasting pan and pour hot water into the roasting pan until it comes about 1 inch up the side of the springform.
Step 6
Bake in the water bath for 60 to 70 minutes, until the edges are set and the center has a gentle jiggle. Turn off the oven, crack the door open, and let the cheesecake cool inside for 1 hour.
Step 7
Remove the cheesecake from the water bath and refrigerate for at least 6 hours or overnight.
Step 8
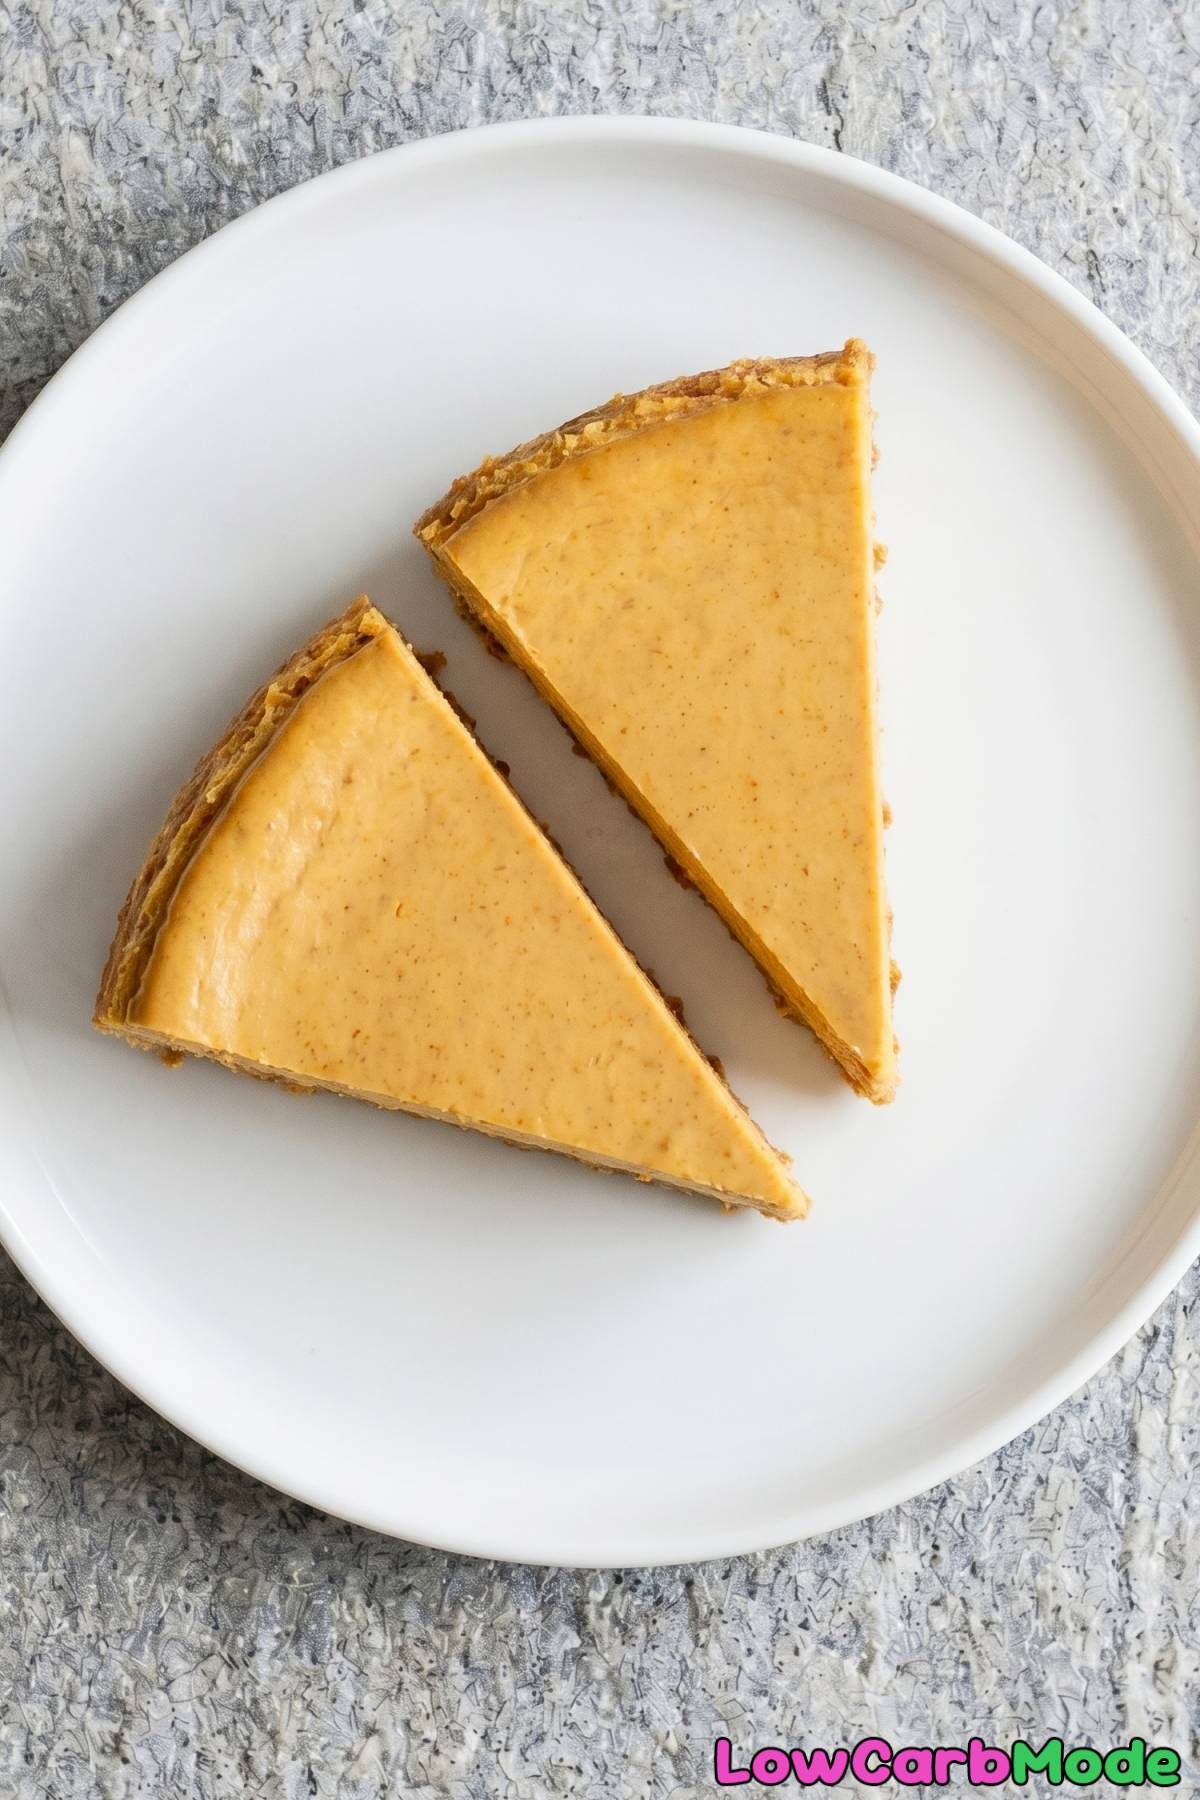
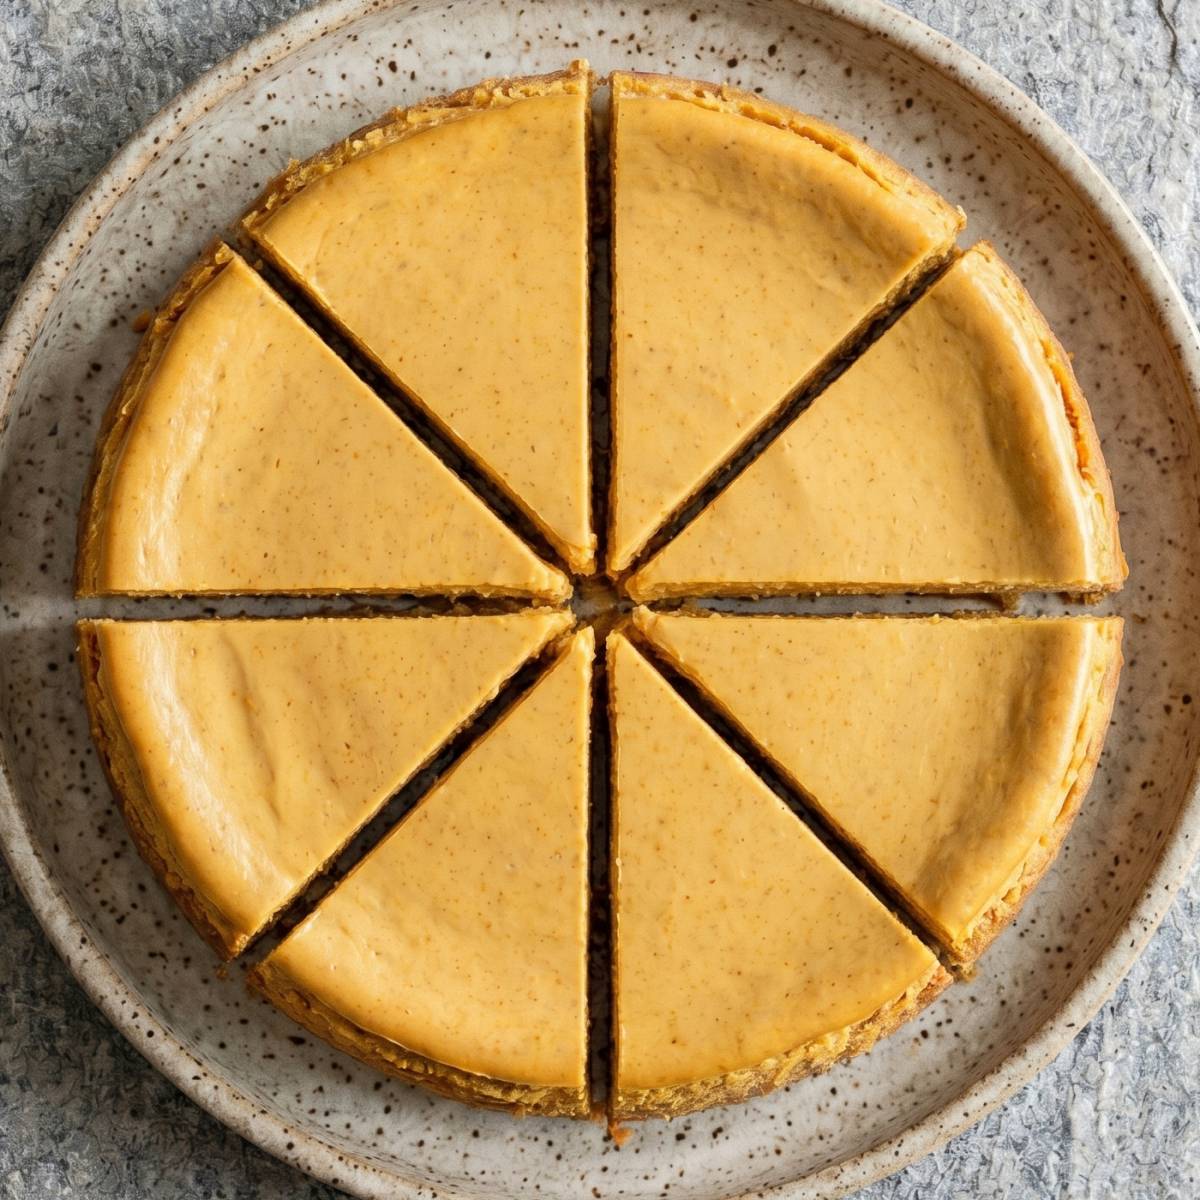
Run a thin spatula around the edge before releasing the springform ring. Slice and serve chilled with a dollop of whipped cream if desired.
Tips
Make Sure the Cream Cheese Is Actually Soft
Don’t just leave the cream cheese out for 20 minutes and call it good. It needs to sit at room temperature for at least an hour, maybe longer depending on your kitchen. You want it to feel soft when you press it with your finger.
If the cream cheese isn’t fully softened, you’ll end up with lumps in your filling that won’t go away no matter how much you mix. And the more you mix trying to fix it, the more air you add, which leads to cracks on top.
If you forgot to take it out ahead of time, cut it into small cubes. They’ll warm up much faster than full blocks sitting on the counter.
Use a Water Bath the Right Way
The water bath isn’t optional here. It keeps the oven humid and the temperature gentle, which is what gives cheesecake that smooth, creamy texture instead of a dry, cracked top.
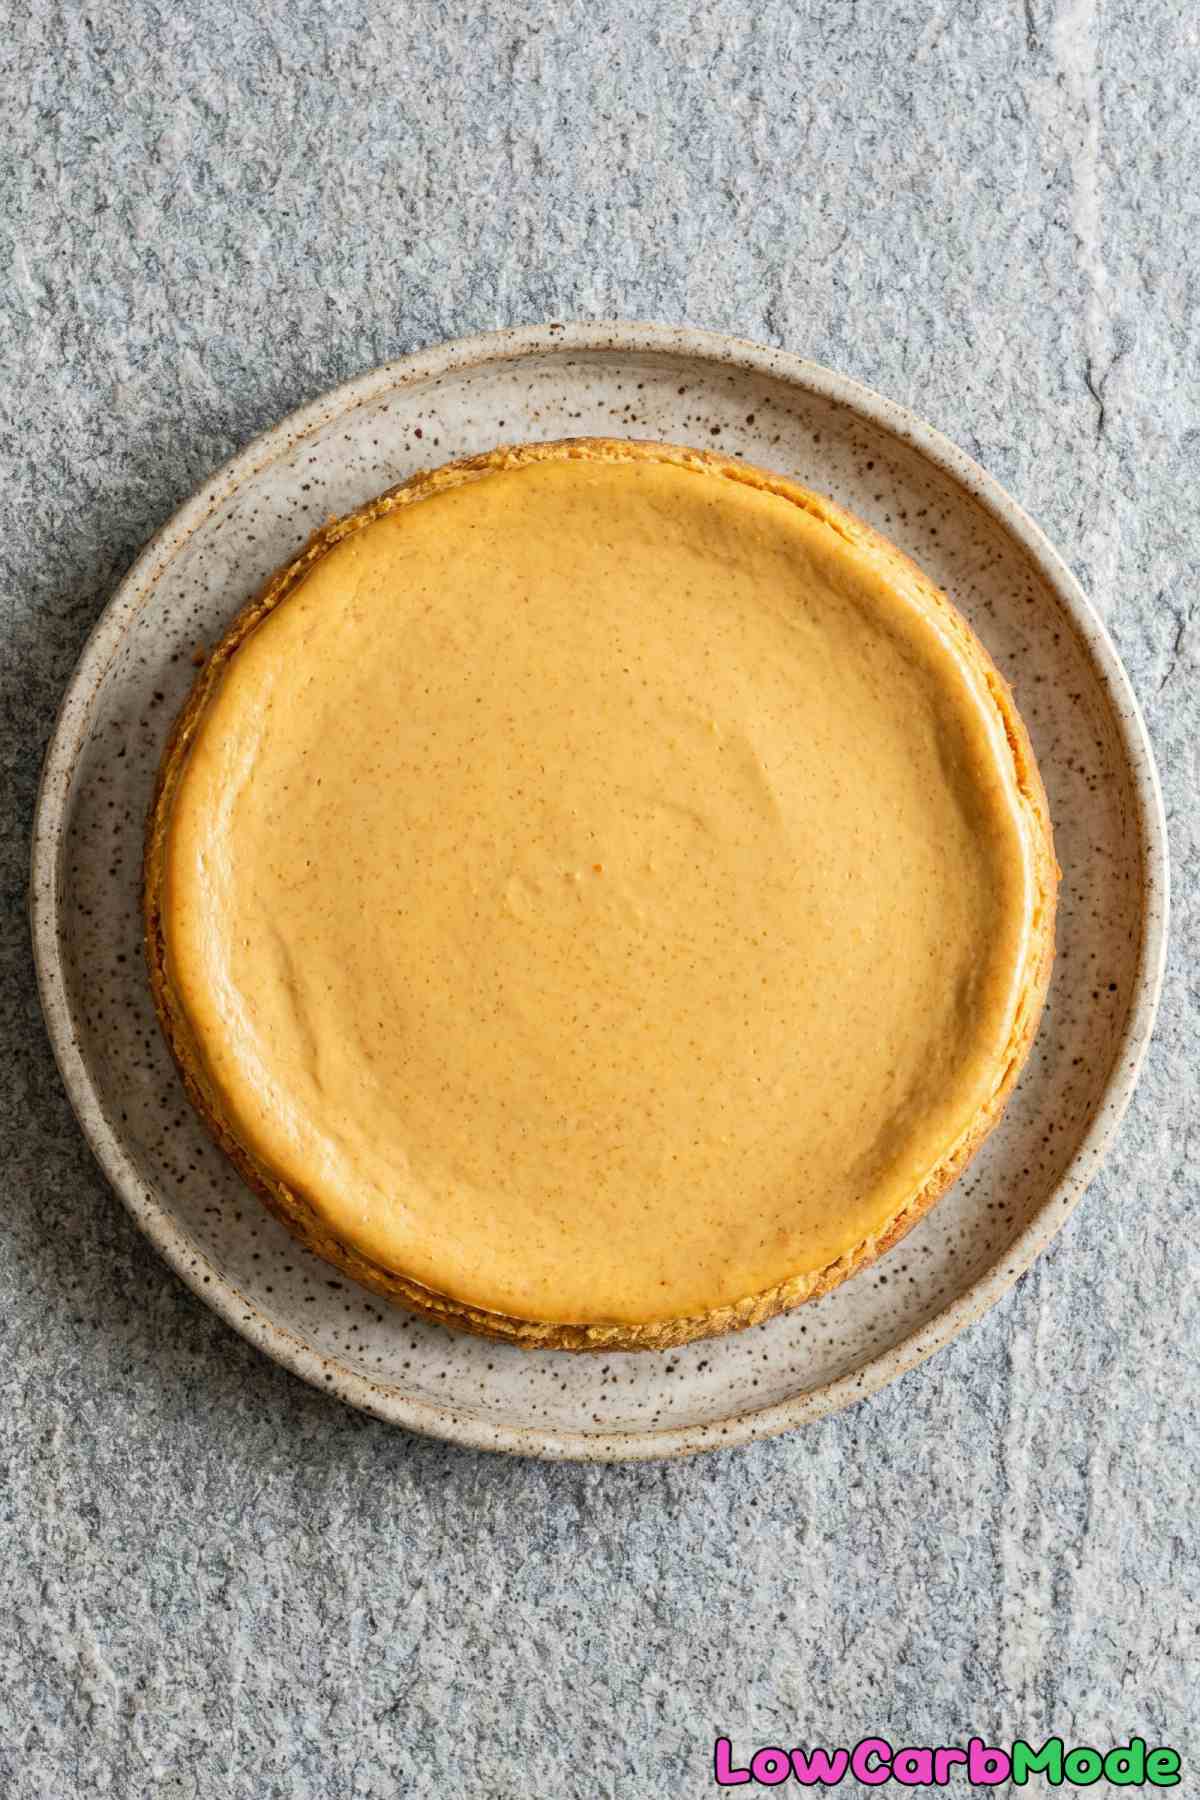
Use boiling or very hot water from a kettle and pour it into the roasting pan after you’ve already placed it on the oven rack. This way you don’t have to walk across the kitchen carrying a heavy pan full of hot water.
Also, make sure the foil wrap on the bottom of the springform is tight with no gaps. If water leaks in, your crust will turn soggy and the bottom of the cheesecake will be a mess.
Add the Eggs on Low Speed
When you get to the eggs, switch your mixer to the lowest setting. Eggs are the step where most people accidentally ruin cheesecake by whipping too much air into the batter.
Add each egg one at a time and mix just until the yellow disappears into the batter. That’s it. If you beat them on medium or high, all that extra air expands in the oven and then collapses as it cools, which causes deep cracks right down the middle.
More Recipes
- Low Carb Pumpkin Cheesecake Bars
- Keto Pumpkin Pie Truffles
- Keto Pumpkin Roll
- Keto Pumpkin Spice Latte Mousse
- Keto Pumpkin Bread
Frequently Asked Questions
Can I skip the water bath step?
You can, but the water bath is what keeps the cheesecake baking gently and evenly, which helps prevent cracks on top. Without it, the edges tend to cook too fast while the center stays underdone, and you’re much more likely to end up with a cracked surface.
If you really don’t want to deal with a water bath, place a pan of water on the rack below the cheesecake to add some steam to the oven. It’s not quite as effective, but it helps.
Keto Pumpkin Cheesecake
Ingredients
For the Crust
- 1 1/2 cups Almond Flour
- 3 tbsp Unsalted Butter, melted
- 2 tbsp Granulated Erythritol
- 1/2 tsp Cinnamon
- 1 Pinch Salt
For the Filling
- 24 oz Cream Cheese, softened
- 3/4 cup Granulated Erythritol
- 3/4 cup Pumpkin Puree
- 3 Large Eggs
- 1/3 cup Sour Cream
- 2 tsp Pumpkin Pie Spice
- 2 tsp Vanilla Extract
Equipment
- 9-inch springform pan
- electric mixer
- roasting pan
Instructions
- Preheat your oven to 325°F (165°C). Wrap the outside bottom of a 9-inch springform pan with foil to prevent leaks. In a bowl, mix together the almond flour, melted butter, erythritol, cinnamon, and salt. Press firmly into the bottom of the pan.
- Par-bake the crust for 10 minutes until lightly golden. Remove from the oven and let it cool while you prepare the filling. Reduce the oven temperature to 300°F (150°C).
- In a large bowl, beat the cream cheese with an electric mixer on medium speed until completely smooth, about 3 minutes. Add the erythritol and beat until combined.
- Add the pumpkin puree, pumpkin pie spice, and vanilla extract and mix until incorporated. Add the eggs one at a time, beating on low speed after each addition just until blended. Stir in the sour cream until smooth. Avoid overmixing, as this can cause cracks. The batter should be silky and uniform.
- Pour the filling over the cooled crust and smooth the top. Place the springform pan in a larger roasting pan and pour hot water into the roasting pan until it comes about 1 inch up the side of the springform.
- Bake in the water bath for 60 to 70 minutes, until the edges are set and the center has a gentle jiggle. Turn off the oven, crack the door open, and let the cheesecake cool inside for 1 hour.
- Remove the cheesecake from the water bath and refrigerate for at least 6 hours or overnight.
- Run a thin spatula around the edge before releasing the springform ring. Slice and serve chilled with a dollop of whipped cream if desired.